Latency
tips on keeping latency at bay
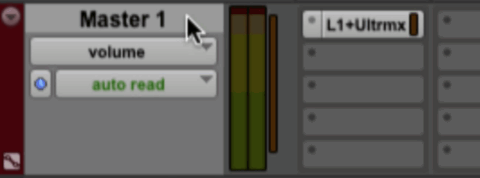
Disable master channel
Having an active master channel will increase latency affecting the artists performance. Disable the master channel in your session until its time to bounce the the song.
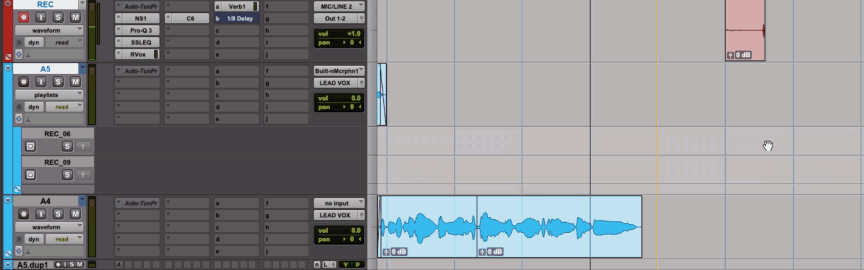
Use a cut / record track
Assuming your template has groups with bus processing (it should)- tracking directly inside of those groups will increase latency as well, the best practice is to record onto a cut track that is routed directly OUT 1-2 to keep latency as low as possible!

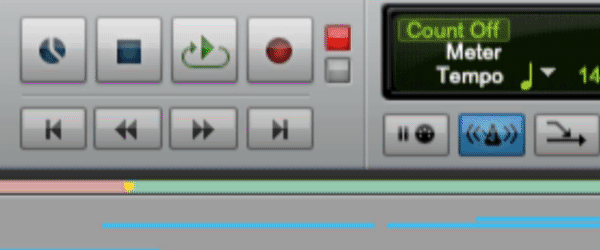
check buffer size
You want to keep this buffer size as low as possible when tracking, if audio starts cutting out and messing up playback you can increase the buffer size to clean it up but I would try my best not to take it above 256.
*** If you’re still having issues with playback I would recommend freezing any groups / tracks that are using CPU hungry plugins.
Tracking
fast. proficient.
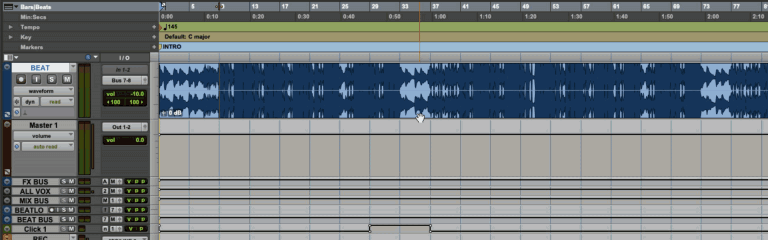
turn the beat down!
In my template I have a dedicated track for the beat that is turned down -10db. Most of the time the beats that the artist will bring in are mastered or limited already and super loud. You don’t want to fight this by turning the vocal tracks up or you’ll be clipping the mix bus in no time. Give yourself some headroom!
Set record mode to quick punch
When you set record mode to quick punch Pro Tools will store the entire take from where you start playback even if you only manage to record the very end of a phrase. If you ever hit record a little late into the take you can just extend the file back and pro tools will magically reveal the audio you missed! Setting your record mode to quickpunch will save your @$$!
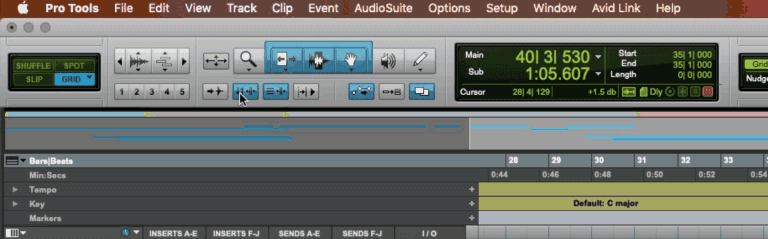
link timeline / edit selection
Toggling the Link Timeline / Edit Selection preference is a great technique to speed up the process and free your cursor to make edits while cutting vocals. While link timeline/ edit selection is enabled the play head will follow the cursor anywhere you click in the session. If you disable this feature you can cut the artist from the same start point while editing other parts of the song.
This is a more advanced technique and something that you should be conscious of because it can trip you up when you want to playback from a different section and the play head stays put. Be ready to relink the timeline / Edit Selection when you need to record from a different part of the song. Use the shortcut SHIFT + / to toggle this preference.
MOVE TRANSPORT WITH NUMPAD 1 & 2
This is super helpful with working through a section with the timeline / edit selection unlinked. Since you can’t move the transport with your cursor, use number pad 1 & 2 to move the transport forwards or backwards by 1 bar.
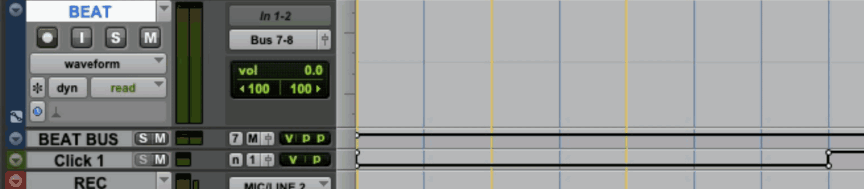
Keep a metronome handy
While tracking you will often come across sections of the beat where the drums drop out. These breakdown sections can make it hard for the artist to keep up with the tempo. Always keep a Click track in your template for these situations. I keep mine MUTED with the mute automation lane pulled up so I can quickly automate the click ON for these sections and OFF for the rest of the song.
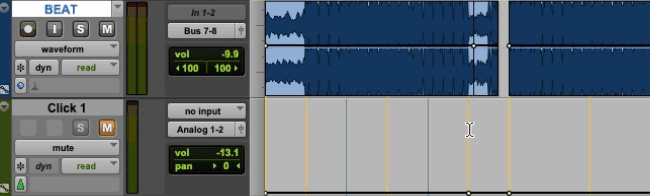
***This is tactic is a lost cause unless your beat is locked to the grid so make sure you’re locked in!
Organization
keep your bearings
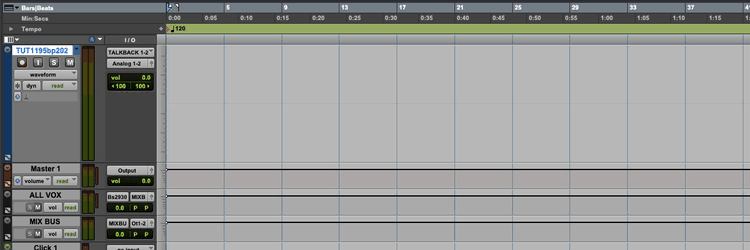
Lock the beat to the grid!
Find the tempo of the song and set the bpm in the session so that the song is locked to the grid. (How to find the bpm of a song)
This should be the first thing that happens after you import the beat, if you fail to do this everything will be out of sync when you duplicate the hooks (fly the hook).
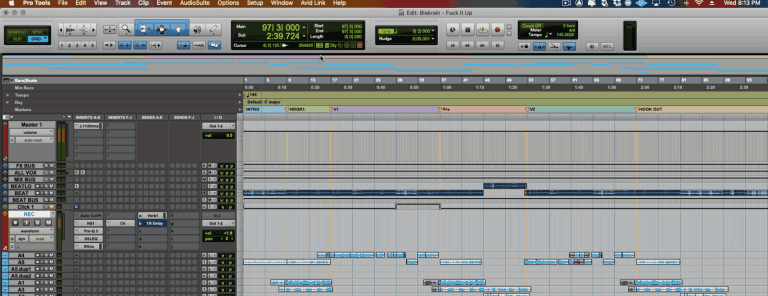
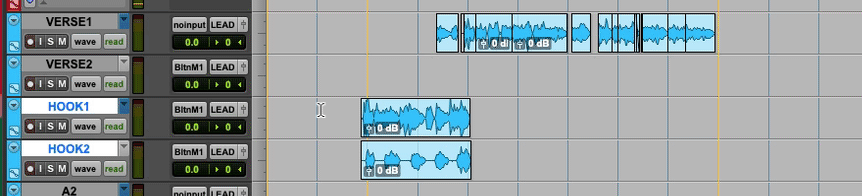
keep the hooks and verses on separate tracks
This is a huge help when flying hooks / repeating sections. It also helps you stay organized and differentiate the sections of the song.
playlisting
It’s important to keep up with playlisting to stay organized. There are instances where the artist might freestyle something dope that you want to save to reference later in the session. Some artists will lay down a mumble track to get out ideas for cadences or melody’s they want to reference. It’s important to keep these takes, the artist will thank you later.
Track markers
Use track markers to keep your bearings in the song and easily find different sections. Most of the time these will not be obvious by looking at the waveform and you will figure them out as the artist decodes how they want to build the record. Every time you identify a new section mark it with a track marker (ENTER on the Number Pad)